Here's a fun tutorial for a Christmassy Pom-Pom Garland that's family friendly and endlessly customisable.
I'm going to be putting my one on the tree, but it would also look good as a garland for the mantelpiece or strung across the ceiling (in between the mistletoe ;)
I've used my 100% acrylic Stylecraft Special DK yarn stash to make these pom-poms in a simple red and white colour-way, but you can use any yarn and colour that takes your fancy.
So I'm using this semi-unorthodox method of pom-pom making in a bid to save time (but if you prefer the good old 'cardboard circle' style of doing them one at a time or you have a pom-pom maker then please continue and make your pom-poms another way).
On to the method ...
I've wrapped the yarn fifty times around the back of my kitchen chair (25 wraps of the red and 25 of the white in this example). If you're using a chunkier yarn you may want to do less wraps, and a slimmer yarn more.
Carefully take one side of the yarn off the chair back and begin to tie it off in sections leaving about 2" between each one. Make sure you pull the cotton very tightly and secure with a double knot. Two pairs of hands are a real advantage here!
Keep going until your length of yarn looks secured at even intervals all the way along.
Being really careful not to cut the strings of cotton you tied the pom-poms with, carefully cut in the middle of the segments in between each tie.
You now have a lovely little pile of pom-poms, but they're not quite done yet.
Squash each pom-pom between forefinger and thumb and with a pair of scissors, trim all the way around until you are happy with its size, shape and density. Keep moving the pom-pom about in your fingers to check for stray lengths of yarn that you may have missed.
So here's my pile of lovely fluffy pom-poms in a variety of solid red, solid white and variegated colours. I decided to stop when I'd made twenty but you can make as many or few as you like. Mine are each about 1" in diameter.
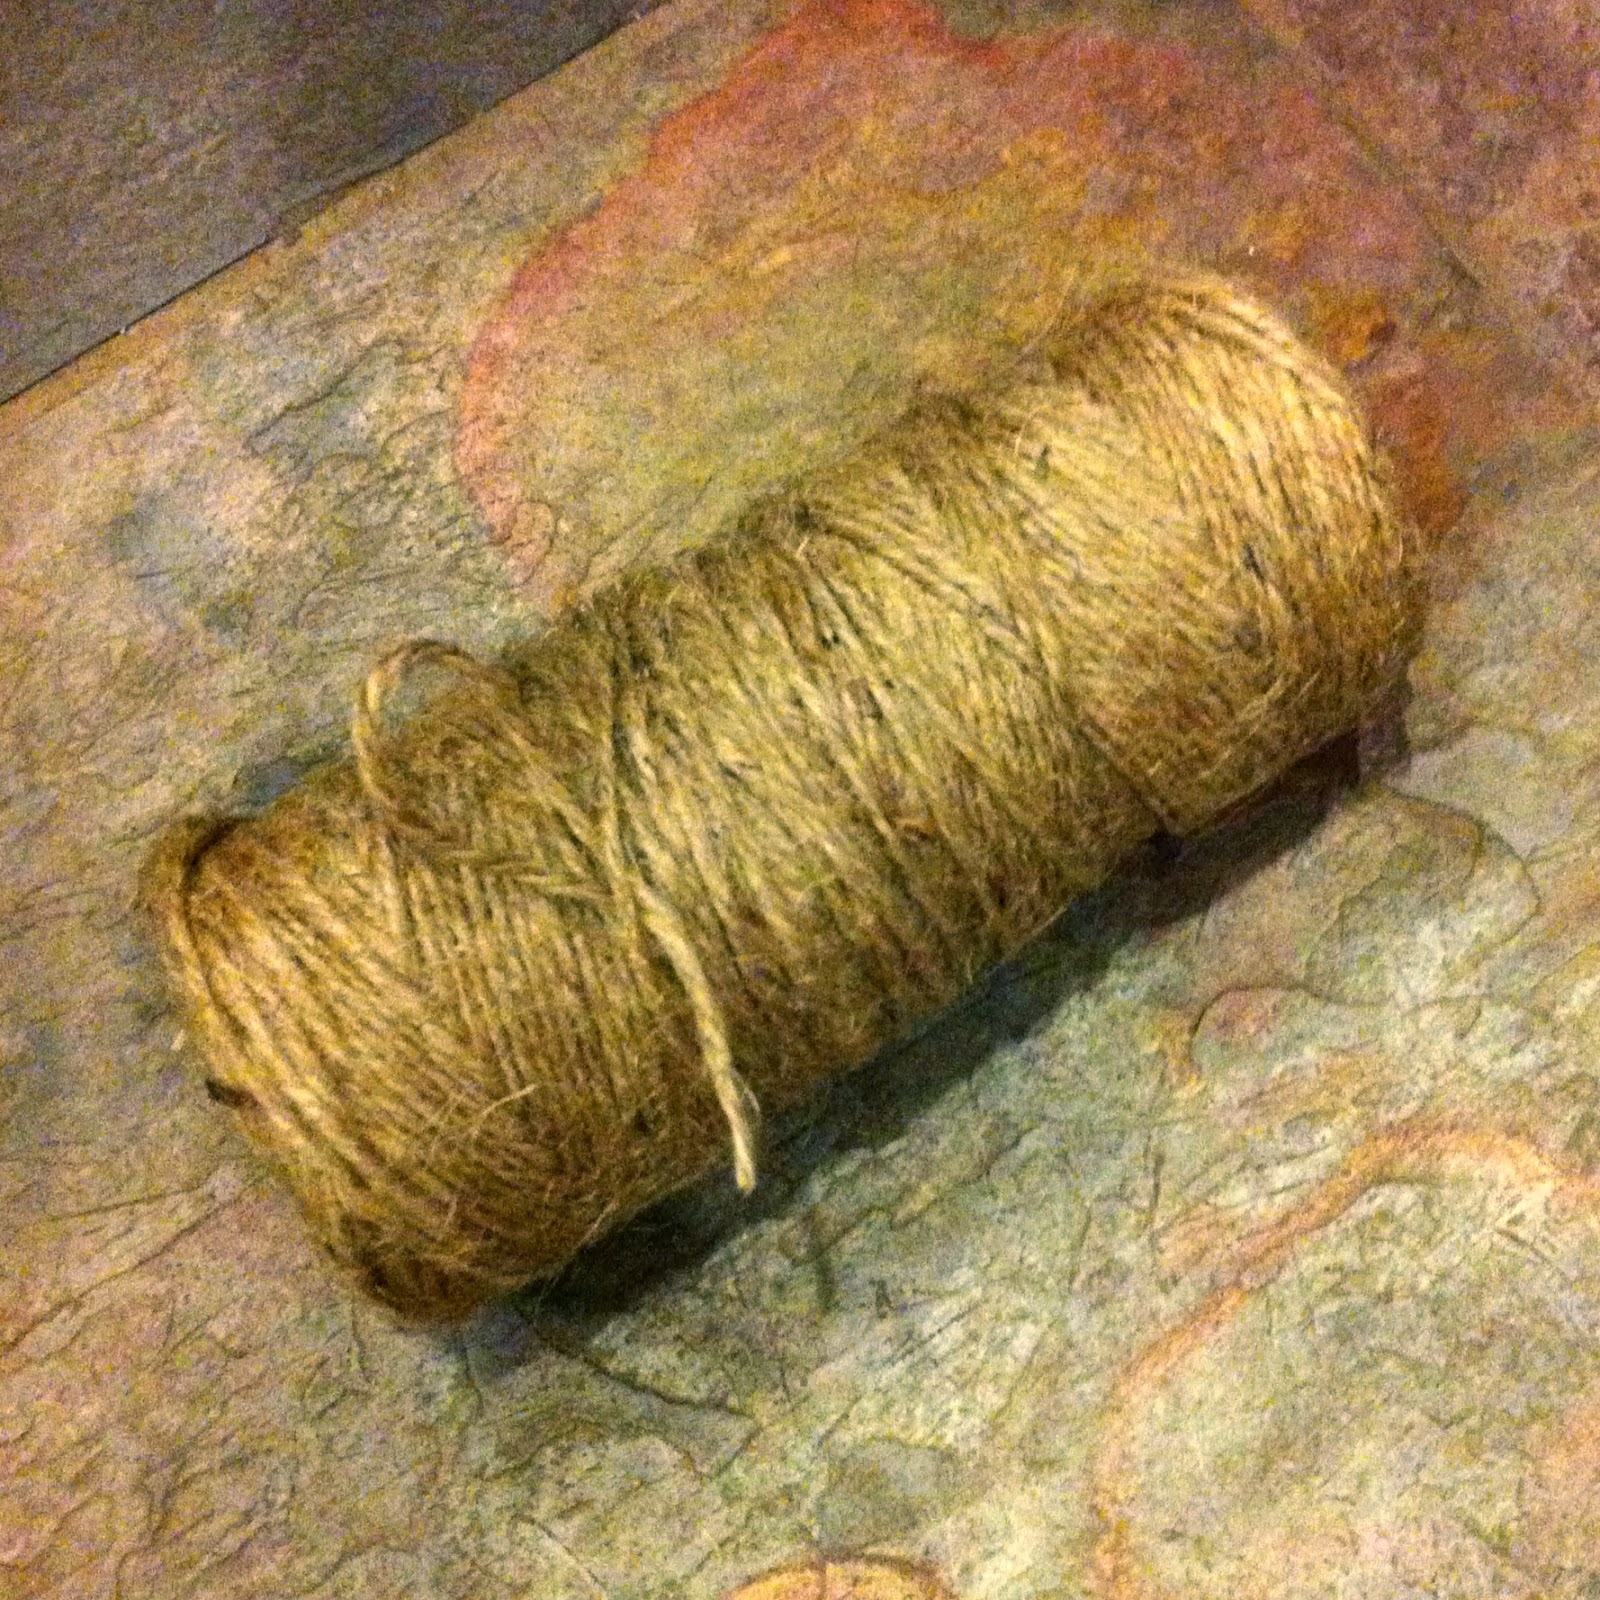
After a well deserved cup of tea it was time for the stringing ... I've used some jute twine for mine, but some ribbon or any fancy string would look great.
Cutting a length of 200" for my garland I've spaced the pom-poms about 10" apart. I now have a lovely christmassy yarny pom-pom garland for my tree, but for now a photo of the finished item on my kitchen floor will have to do (because, erm, we don't have our Christmas tree yet ... blush).
Can't wait to see it on the tree with my other handmade decorations.
n.b. Pom-poms are great fun for all the family but if you are making this garland with younger family members, please remember to supervise the use of scissors and bear in mind that the finished item could be a hazard in little hands. Thank you.


