Tuesday 11 December 2012

Christmassy Pom-Pom Garland

Here's a fun tutorial for a Christmassy Pom-Pom Garland that's family friendly and endlessly customisable.

I'm going to be putting my one on the tree, but it would also look good as a garland for the mantelpiece or strung across the ceiling (in between the mistletoe ;)

I've used my 100% acrylic Stylecraft Special DK yarn stash to make these pom-poms in a simple red and white colour-way, but you can use any yarn and colour that takes your fancy.

So I'm using this semi-unorthodox method of pom-pom making in a bid to save time (but if you prefer the good old 'cardboard circle' style of doing them one at a time or you have a pom-pom maker then please continue and make your pom-poms another way).

On to the method ...

I've wrapped the yarn fifty times around the back of my kitchen chair (25 wraps of the red and 25 of the white in this example). If you're using a chunkier yarn you may want to do less wraps, and a slimmer yarn more.


Carefully take one side of the yarn off the chair back and begin to tie it off in sections leaving about 2" between each one. Make sure you pull the cotton very tightly and secure with a double knot. Two pairs of hands are a real advantage here!


Keep going until your length of yarn looks secured at even intervals all the way along.


Being really careful not to cut the strings of cotton you tied the pom-poms with, carefully cut in the middle of the segments in between each tie.

You now have a lovely little pile of pom-poms, but they're not quite done yet.


Squash each pom-pom between forefinger and thumb and with a pair of scissors, trim all the way around until you are happy with its size, shape and density. Keep moving the pom-pom about in your fingers to check for stray lengths of yarn that you may have missed.


So here's my pile of lovely fluffy pom-poms in a variety of solid red, solid white and variegated colours. I decided to stop when I'd made twenty but you can make as many or few as you like. Mine are each about 1" in diameter.


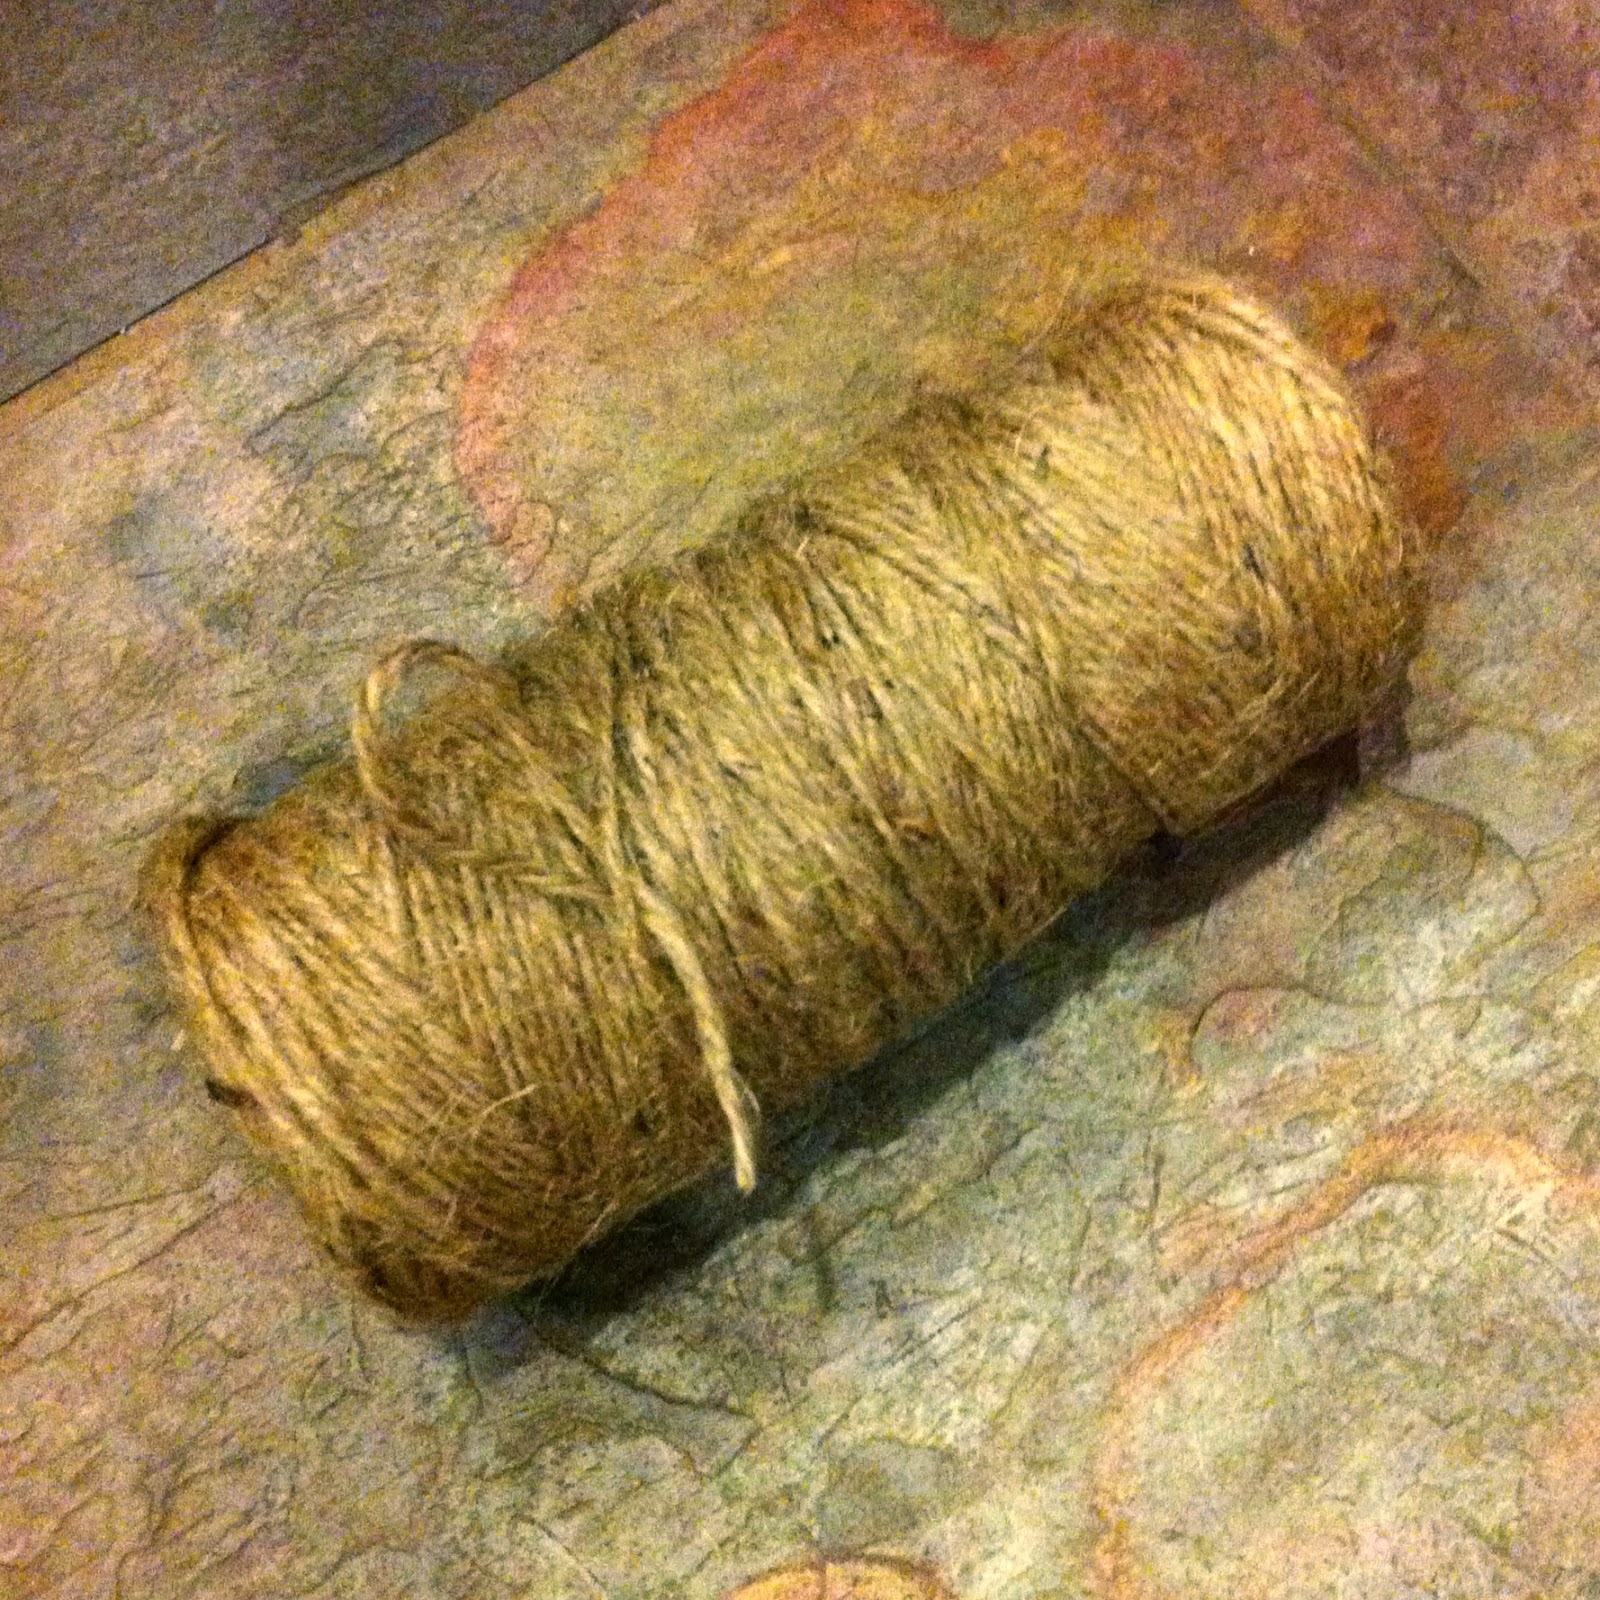
After a well deserved cup of tea it was time for the stringing ... I've used some jute twine for mine, but some ribbon or any fancy string would look great.


Cutting a length of 200" for my garland I've spaced the pom-poms about 10" apart. I now have a lovely christmassy yarny pom-pom garland for my tree, but for now a photo of the finished item on my kitchen floor will have to do (because, erm, we don't have our Christmas tree yet ... blush).


Can't wait to see it on the tree with my other handmade decorations.

n.b. Pom-poms are great fun for all the family but if you are making this garland with younger family members, please remember to supervise the use of scissors and bear in mind that the finished item could be a hazard in little hands. Thank you.

Saturday 8 December 2012

Purple Spindle-Spun Handspun Yarn FO

What a labour of love this has been ... several months of on-and-off drop spindle spinning has culminated in one very happy camper indeed ... my best (to-date) and all-time favourite handspun skein.

So here's the time line in photos :) ... First off, a gratuitous pic of the day the fiber arrived. 100g of super washed Blue Faced Leicester in the most beautiful array of purples and pinks.


The spinning begins ...


Filling the spindle up ...


The first half finished ...


The second half on the spindle ...


Caked and ready to ply ...


Plying progress ...


Plying finished and on the niddy-noddy ...


And finally the TA-DAH moment ...


THE SPEC ...

Length: 330 yards

Weight: 2-ply lace to sock weight

And now to decide what to make with it ... Off I pop to Ravelry then :)

Tuesday 23 October 2012

Holden Shawlette Lace Knitting FO

A month or so ago I decided to embark on the Holden Shawlette from Ravelry.

Using my lovely green variegated Zitron XXL sock yarn, I cast on in earnest. After the initial head scratching of getting to grips with two 90 degree turns and picking up stitches, once I had my ah-ha moment, I was away.


And I was happy to see the shawl begin to take shape quickly at first, with the rows becoming longer and longer each time.


Before long I was ready to begin the main lace section of the shawl, and was a little apprehensive, so I added a life line just in case I had to rip any of the lace rows back.


My fears were unfounded as only a few rows later I could see the pattern forming correctly.


Staying up very late one night, I was excited that I only had the cast off to do and was highly motivated to finish the shawlette. Not having done the picot cast off before, I'd underestimated this section of the garment entirely. Not only did I have to log on to YouTube to get a more visual tutorial on the technique, but I then did the first several dozen too tightly and decided to start over. At about 1am I was seeing double and fit for my bed.


The following evening I continued the picot edging and finally fully cast off.

Well, what can I say? It was such a satisfying knit.

Here it is taking a first soak in the bath ;)


Being a relative newbie to blocking, I set to work straight away taking full advantage of using the warmth from the log burner to assist in the process.

Despite the poor lighting of the lounge late at night, I was too excited to miss out on taking a photo of my shawl in its full stretched out glory.


So here's the final TAH-DAH moment ... A very proud FO indeed.


*******
Joining in with these fabulous memes today. Please go along and have a look at all the lovely crafting people have been doing.


Monday 15 October 2012

British Wool Week 2012


Let's celebrate British Wool Week and support British wool by crafting with it between 15th and 21st October 2012 (and all year round of course).

I'm joining in by spinning with my Blue-Faced Leicester fiber, which is a British sheep breed.

You can find out more about how to support the British Wool Industry by visiting the Campaign for Wool website which is supported by the Prince of Wales.

Tuesday 25 September 2012

Happy Birthday to Me! ... A New Spinning Wheel

What better way to celebrate being a year wiser(!) with a very special birthday gift.

Introducing my new Ashford 'Joy' spinning wheel (bought second hand but lightly used from one careful lady owner on Ravelry) ...


I'm looking forward to getting to know her ways and learning to make beautiful yarn together ;)

So far so good ... The Ashford Joy really lives up to its name.

Thursday 6 September 2012

Pottery Painting Success

It was a sad day in the house when my other half accidentally broke my favourite mug the other week. It wasn't the nicest mug in the world, but it was mine, and the only mug I enjoy my umpteen mugs of tea from throughout the day.

After scouring the internet for a reasonably priced large mug, the only mugs I had my eye on were any number of the beautiful creations by Emma Bridgewater ... but at those prices I decided that I might have to wait for birthdays and Christmas!

So I called the local craft center to ask for their opening times (as it was a Sunday), and was delighted to discover that they were open until 4pm, which gave me just enough time to go and get something achieved.

What a treat! I arrived and promptly ordered a tall latte and a slice of homemade shortbread, took my place at a seat in the craft room, had a browse through some books for inspiration, chose my pottery bisque blank, my colour palette and away I went.


As it was still the summer holidays, a number of other parties were in the room ... mostly mums and/or dads with their children. On the CD player was a 'Best Of Disney' compilation, which was actually delightful, and I had to refrain from singing along on several occasions.

After several hours of deep concentration, my new mug was painted to my liking and I packed up my things and went back home with the promise that it would be ready for collection in about a week ... A WEEK!!! It sounded like a very long time to have to wait, but my mug needed firing in a kiln, so wait I must.

A couple of days ago I got a call from the craft center to say that it was ready for collection. Yay!

So, TAH-DAH ... Here it is. (And I must say that it turned out way better than expected).


Now I've got the bug, I'm going back with a friend in a weeks time to a womens only craft evening, where we will paint pottery into the night ... and have a little tipple to boot! Hurrah.

Thursday 16 August 2012

My New Turkish Drop Spindle has Arrived

After a couple of weeks of excited waiting, I'm very happy to introduce you to my new custom made spindle ...


This beauty was made by the highly talented spindle maker Enid Ashcroft, who has a very successful shop on Etsy.


THE SPEC... (copied from the label that came with the spindle)
Description: Midi Turkish Spindle
Whorl Diameter: 5"
Spindle Length: 7"
Weight: 30g
Material: Blackheart Sassafras & Wenge


As it's only just arrived, I haven't had the chance to get fiber onto it yet but I'll certainly be trying it very soon.

Friday 29 June 2012

My First Knitted Two-At-A-Time Socks FO

I'd had my sights on knitting a pair of socks for a number of years, but kept chickening out. When I set my mind on something, it's pretty much etched in stone, but that doesn't detract from the procrastinator in me.
About a month ago, all the scrummy home-made sock photos posted by Instagram 'friends' had finally convinced me that now really was the time to begin, so I purchased my 2.5mm / 100cm Addi Lace circular needle, downloaded the toe-up two-at-a-time pattern of choice from Ravelry, made a trip to a well stocked store for my Regia sock yarn, and then got down to learning new skills ...

I never cease to marvel at the genius of the human race in devising these methods and Judy's Magic Cast-On is no exception. I love it, and would be happy to begin a gazillion socks if it means doing this method over and over again.


Happily increasing away to form the toes ...


Needing a little energy boost to help me along the endless rounds of straight knitting, hehe ...


Increases galore to form the gusset ...


And onto more ingenious knitting design in the form of the Fleegle Heel ...


After more straight knitting and a 1x1 rib cuff, finally the eagerly awaited Invisible Ribbed Bind Off (which took a massive amount of concentration and had to be done in two sittings!) ...


Such an amazing feeling when you have your completed project in front of you, but not forgetting the all-important blocking ... after giving the socks a delicious smelling soak in Woolite of course.

Then onto my cute sheep-themed sock blockers to dry ...


And finally, the TAH-DAH moment ...


As you can see, I have one pair of very happy feet (if they could talk, they'd be saying SQUEEEEEEEE!)

I can't take all the credit for these gorgeous socks. I couldn't have made them without the help and support gained from the pattern I found on Ravelry titled 'Beginner Toe-Up Socks for Magic Loopby Liat Gat.
*******

I have taken part in Tami's Amis FO Friday for this blog post.

Thursday 28 June 2012

My Handspun Yarn Stash

Pre-pregnancy, I adored obtaining sheeps wool fresh from shearing and getting it home, skirting and sorting through it for the choice sections, washing it in the bath tub, drying it on the washing line, carding and then spinning it up on my Ashford Traditional wheel to see what I could create.

So here's the (dwindled) remainder of my pre-pregnancy handspun stash ...

First up is one of my favourite sheeps wools ... Gotland fleece. It has a lovely long staple length so is easy to draft, there is a natural lustre to the fiber. It creates a luscious soft yarn in a beautiful variegated grey. This fleece was bought from an inspirational local fiber artist who farms the Gotland sheep herself.


Next is the yarn from fleeces of unknown origin (a gift from farmer friends of mine) ... One a lovely milk chocolate brown colour, and another a natural sheep colour(!)


As I spun these two skeins I had my sights on creating a family, so I went on to make a cuddly toy for my future son or daughter ...

Introducing, Sleepy Sheep ... Awww.


I stopped preparing wool straight from the sheeps back when I became pregnant in June 2010 as there are a number of dangerous bacteria present that can cause harm to the baby. I went on to spin shop bought batts that had been scoured. That's when I discovered all the beautiful colours of dyed wool. Oooh, the endless possibilities ...
*******

I am pleased to be taking part in Danielle @ A Stash Addict's new meme today ... Fiber Appreciation Thursday. I'm so looking forward to taking part in this and ogling at all the beautiful stash-iola you have out there.

Tuesday 5 June 2012

Glorious Elderflower Cordial Recipe

Oh Happy Day ... Summer's finally here. I always know it's so when the elderflowers bloom in the hedgerows.

There really is nothing better than a pint glass filled to the top with fizzy mineral water, ice and home-brewed elderflower cordial.

So I thought I'd share the recipe so you can delight in this bounty of nature too ... But hurry, there's only a few weeks of opportunity to get the fresh flower heads at their best.


ELDERFLOWER CORDIAL RECIPE (tried & tested & highly delicious)

  • 20 heads of elderflower

  • 1.8kg granulated sugar or caster sugar

  • 1.2 litres of water

  • 2 unwaxed lemons

  • 75g citric acid

Shake the elderflowers to expel any lingering insects, and then place in a large bowl.

Put the sugar into a pan with the water and bring up to the boil, stirring until the sugar has dissolved.

While the sugar syrup is heating, pare the zest of the lemons off in wide strips and place in the bowl with the elderflowers. Slice the lemons, discard the ends, and add the slices to the bowl.

Pour over the boiling syrup, and then stir in the citric acid.

Cover with a cloth and leave at room temperature for 24 hours.

Next day, strain the cordial through a sieve lined with muslin (or a new j-cloth rinsed out in boiling water), and pour into thoroughly sterilised glass bottles.

Pour a little of the cordial into a glass, and add chilled water, carbonated water or lemonade.

Delicious!

Enjoy.